SenRa Network
Using this article, you will learn how to integrate a LoRaWAN device with SenRa Network and TagoIO.
Note: This setup is for the uplink operation — data sent from the device to your TagoIO account.
The integration is accomplished in two parts:
1) TagoIO Setup
- Go to the devices section, search for "SenRa", and select it.
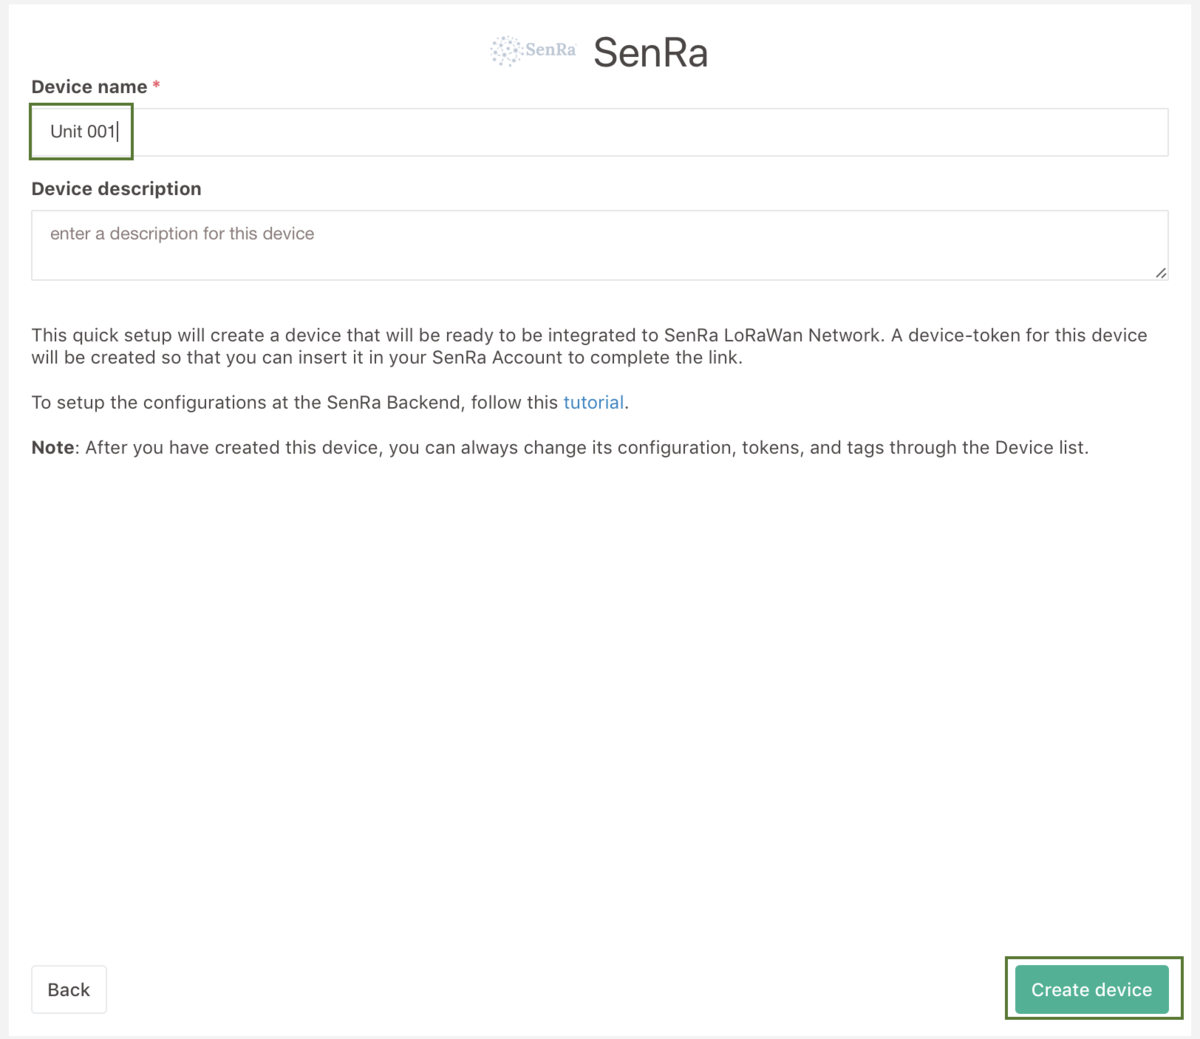
- Type a name for your device and click "Create device".

- Access the device you just created, open the "Token" tab, and copy the
device-token. You will use this token in the next step.
Warning: You should not create Authorization when integrating with SenRa. Use the
device-tokeninstead.
2) SenRa Portal Setup
- Log in to the SenRa portal and go to your devices.
- Choose the device you want to connect to TagoIO and click on its gear icon.
- In the device settings, navigate to Notification Target.
- Ensure that the status is set to Enabled.
- From the “forward to” dropdown, select TagoIO.
- Paste the
device-tokenyou copied earlier into the device‑token field and save your changes.
After completing these steps, every time your device sends data to SenRa, the data will be forwarded to your TagoIO account and available for use.