Senet Network
Using this article, you will learn how to integrate a LoRaWAN device with the Senet Network and TagoIO.
Note: This setup is for the uplink operation — data sent from the device to your TagoIO account.
The integration is accomplished in two parts:
- TagoIO Setup
- Senet Portal Setup
1) TagoIO Setup
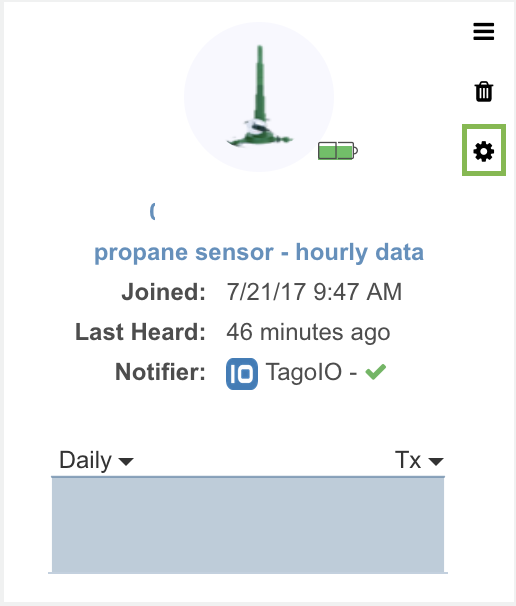
First, go to the Devices module in our admin, look for Senet, and select it.
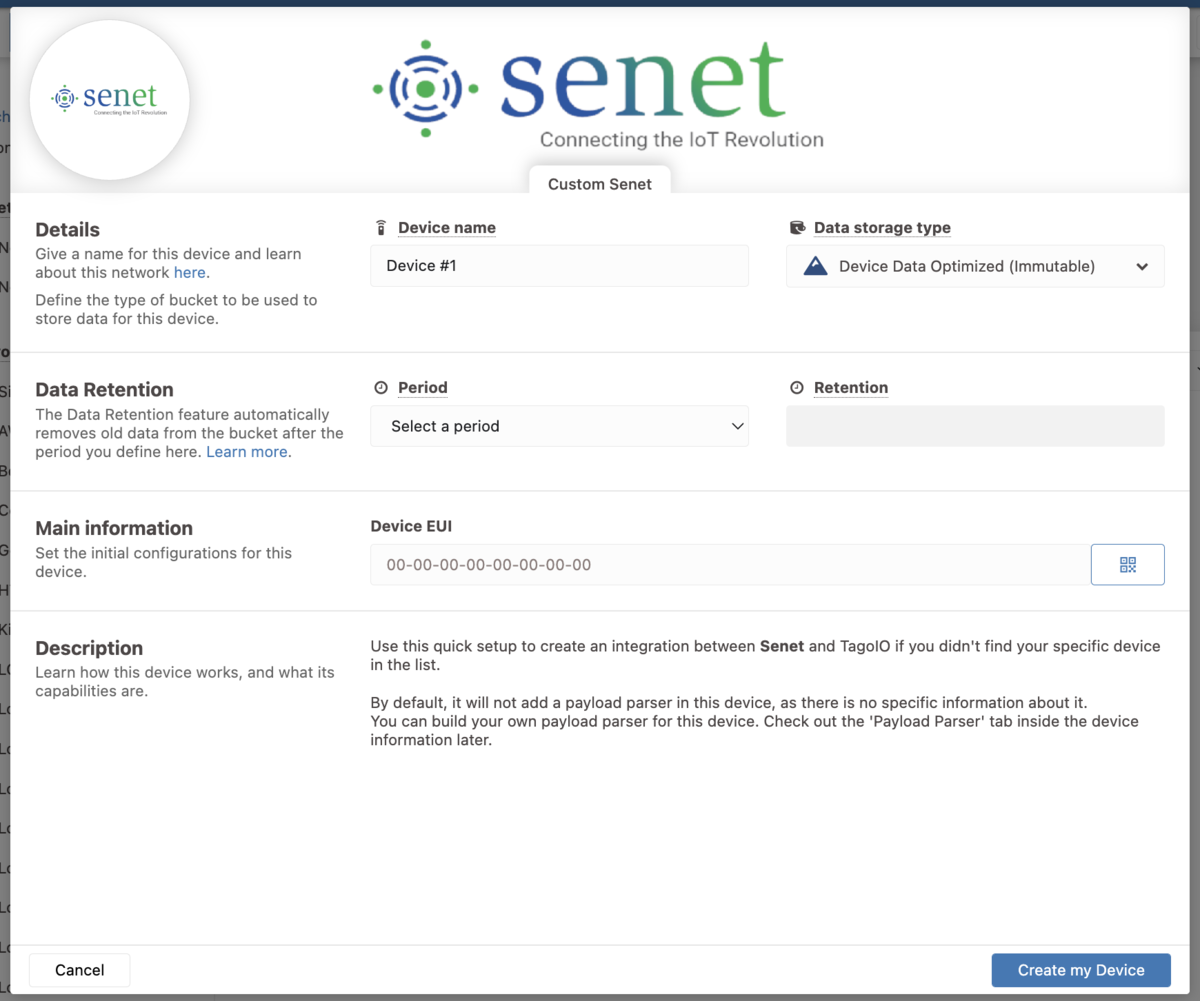
Create Device
Type a name for your device, select a data storage type and define a Data Retention, then click on Create device.
Generate Service Authorization
You will need to generate an Authorization at TagoIO so that it can be added into the Senet integration area.
This authorization can be generated by accessing the Service Authorization page.
The generation of an authorization code is crucial for being able to send downlinks since it allows TagoIO to authenticate downlinks.
2) Senet Portal Setup
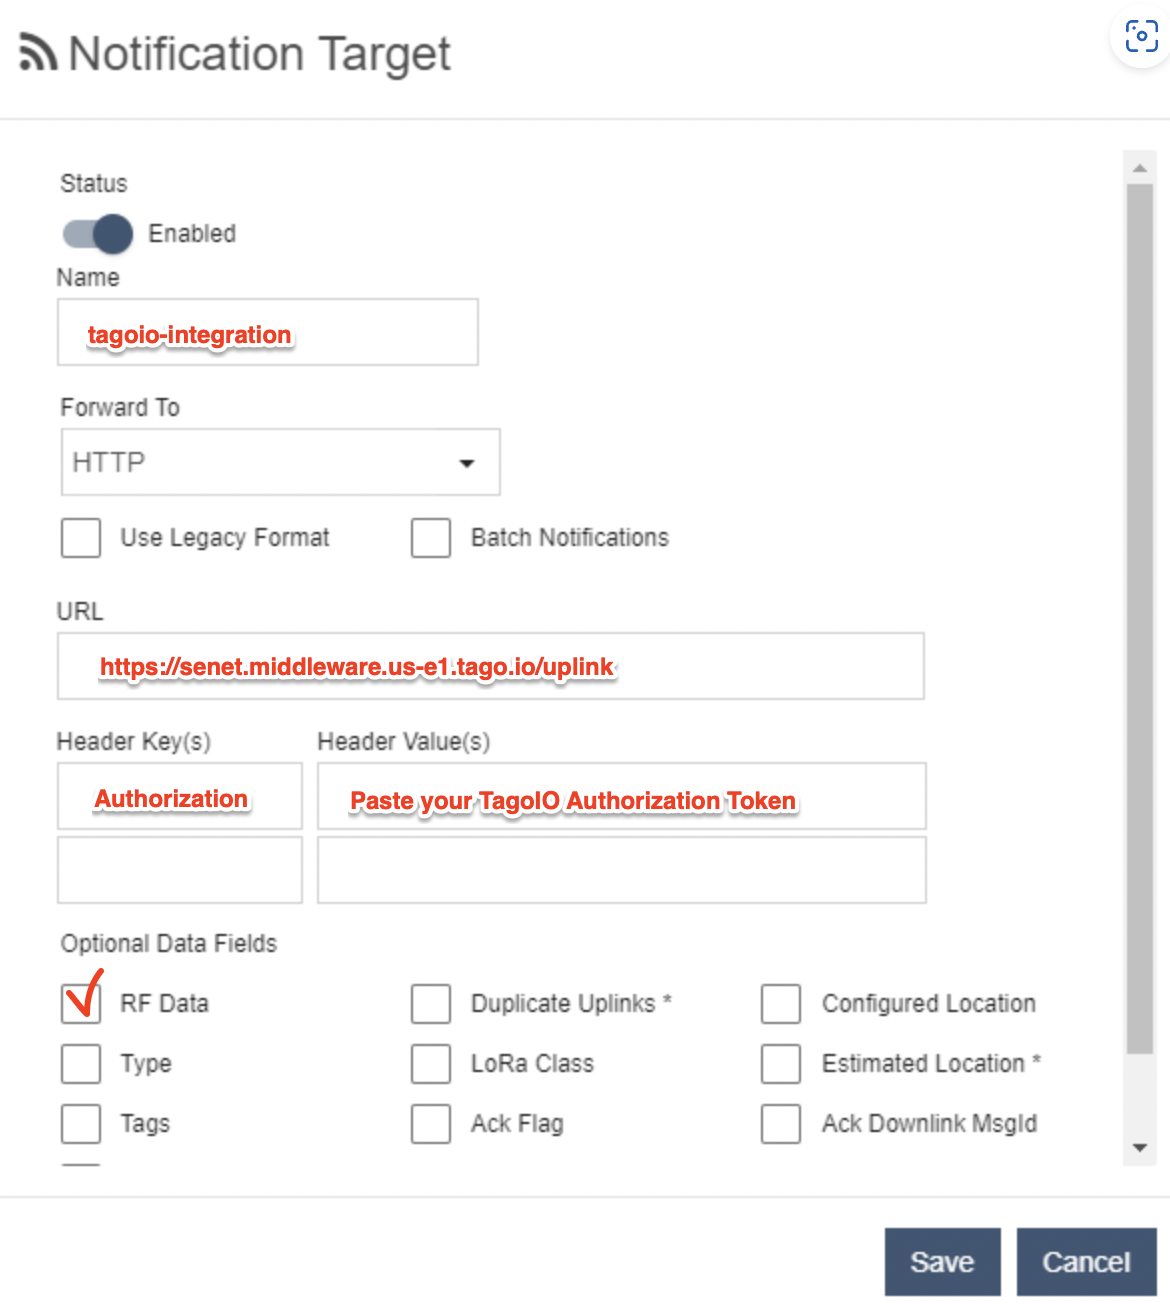
Now, log in to Senet portal and go to your devices.
Choose the device to connect to TagoIO and click on the gear icon.
Go to "Notification Target". Make sure the status is Enabled, select HTTP in the 'forward to' field, and fill the fields accordingly:
| Field | Description |
|---|---|
| Name | Enter a unique identifier (e.g., tagoio-integration). |
| Forward To HTTP URL | Use the endpoint format https://senet.middleware.REGION.tago.io. Replace REGION with your deployment region (e.g., us-e1, eu-w1). For a list of available regions, visit TagoIO Network Integration. |
| Headers | Add a header key Authorization and set its value to the authorization token you copied in Step 1. |
| Optional Data Fields | Enable RF Data and any other optional field you would like to receive in your device. |
Setting up Downlink
In order to support downlinks from TagoIO to Senet, you need an additional step.
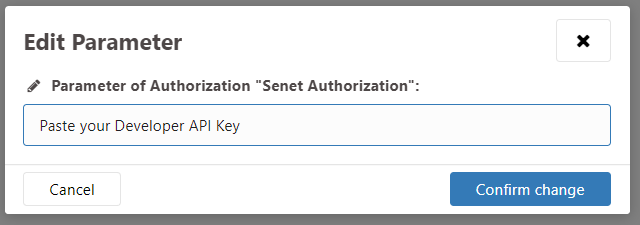
- At the Senet portal, go to your Account Settings, generate a Developer API Key and copy it.
- Now go back to the Authorization page where you created your authorization in Step 1.
- Click to edit the Additional Parameters of the Authorization.
- Paste your Developer API Key and press Save.
Now you are all set; every time your device sends data to Senet, your data will be available at TagoIO.