Widget Cache system
The caching system optimizes the performance of your dashboards by storing widget data and any computations performed using Data Analytics. This allows future requests to be served faster by reusing results from earlier requests, speeding up load times and improving the overall responsiveness of your dashboard. Because less data needs to be queried, caching also reduces Dashboard data output consumption.
The caching system is mandatory when using Data Analytics.
How It Works
When a widget is first loaded by any user, its data is fetched and stored in cache storage on TagoIO servers. Subsequent accesses to the same widget will retrieve the pre-fetched data from the cache, whether accessed through the Admin or Run portal. Each widget’s cache is enabled individually and is automatically refreshed after a specified expiration time (for example, 30 seconds or 1 hour).
For example, if you configure a widget to cache data for 10 minutes, the first time anyone accesses the Dashboard (via the Admin or Run portal) with the same visualization settings, the cache system will store the data on our servers for 10 minutes. Anyone accessing the dashboard within that 10‑minute window will immediately receive the cached data without waiting for the API to query it again, resulting in faster response times. After the 10‑minute period, if the dashboard is being viewed, the widget will reset its cache and update with fresh data.
This feature is particularly beneficial when widgets display complex or resource-intensive data, such as results from Data Analytics functions.
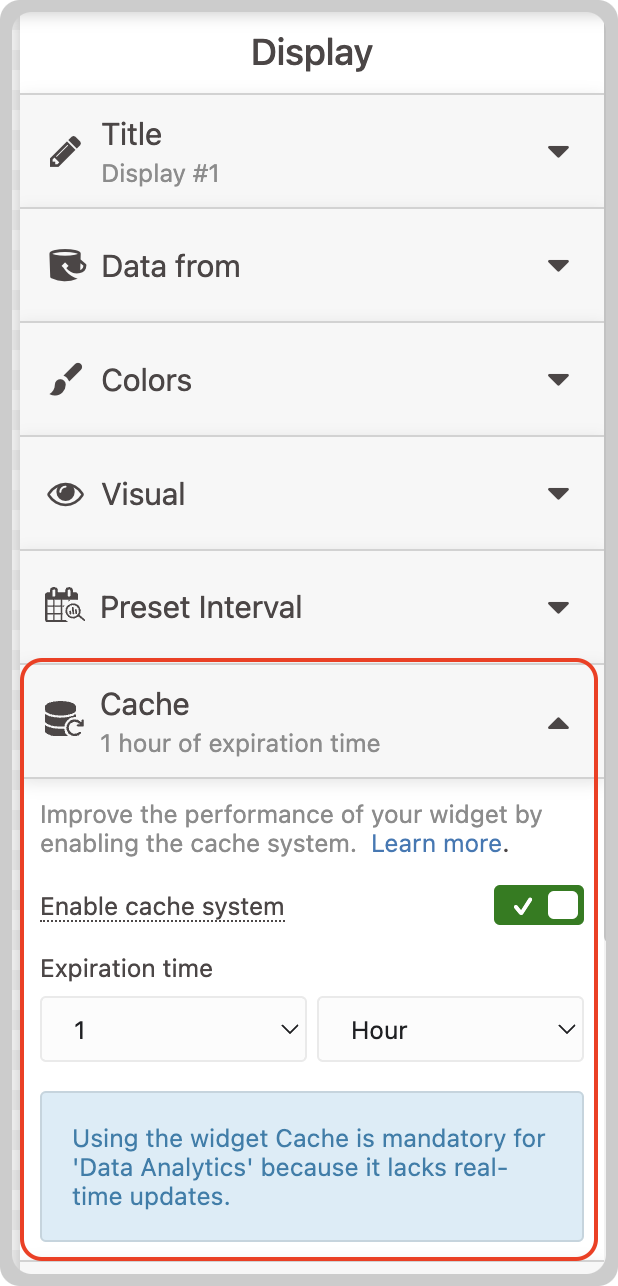
Enabling the cache system for your widget
All widgets support the caching system; you can enable it by entering your widget in Edit mode and navigating to the Cache tab. Once enabled, you can define the expiration time, which specifies how long the cached data will be retained on our servers. You can set periods in seconds, minutes, or hours.
To enable or configure caching for a specific widget, use the widget settings in the Dashboard editor. For step‑by‑step instructions, see the Dashboard editor in your Admin. This feature is part of each widget's settings.