Beagle Bone Black
Overview
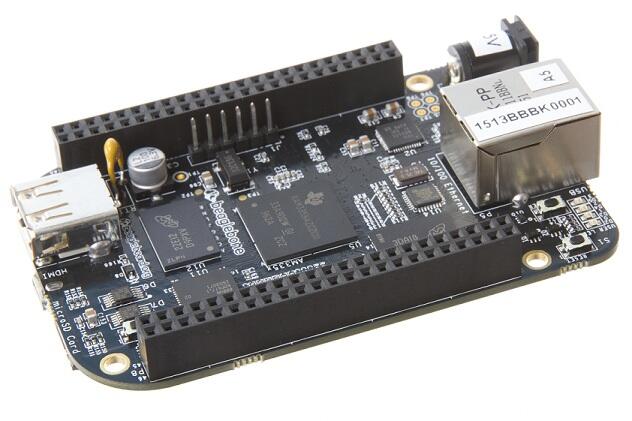
This simple tutorial uses the BeagleBone Black (BBB) board to demonstrate key principles for integrating your solution with TagoIO. Beyond connecting the BBB to the cloud, you will learn how to structure and reuse this code in your own application.
The circuit is straightforward: a single digital input is connected to a normally open switch on connector P8 pin 19. A 2.2 kΩ resistor pulls the line low (0 V) when the switch is closed, ensuring a clean signal for the BBB’s GPIO pin.
Adding the Device
- Log in to your TagoIO account and navigate to the Devices section.
- Click the blue Add Device button, give it the name
dev01, and click Save. - All devices must use a valid token when accessing Tago. The token is automatically generated upon creation. Open the device’s General information page, click QR Code or Tokens, and copy the token to insert into your BBB code later.
Building the Dashboard
- In the left sidebar, open Dashboards and click the plus icon (
+). - Name the dashboard (e.g.,
BBB Dashboard) and click Save. - Add a widget: click the top‑right plus icon, choose Display, and configure it to show the variable
switch. - Select your bucket (
dev01), device (dev01), and click Select as new option then Save. - The widget will update in real time once data starts flowing from the BBB.
Sending e‑mail Action
- Add an action to send an email notification when the switch state changes to closed.
- Configure the action: choose Send e‑mail, enter the destination address and subject, and optionally a message such as “Hi, the switch on your BBB is closed!”.
- To avoid duplicate notifications, set up hysteresis by defining Set Trigger (closed) and Reset Trigger (open). This ensures only one email per state change.
Example: sending a digital input status
In this example, the BBB will send the status of a digital input to TagoIO. The input status will be visualized on a dashboard. Using the Actions capability, you can configure the system to send an email whenever the switch changes to the closed state.
Sending data from BBB
Tago uses JSON over HTTP for device communication. For example, to report that the switch is closed:
{ "variable": "switch", "value": "closed" }
Python Code
The following code was developed on a Debian distribution with Python 2.7.9 but works on any Linux distribution and Python version.
Before running the code, install the Tago library:
sudo pip install -U tago
Create a file bbb_switch.py with the following content (replace the token placeholder):
from tago import Tago
import Adafruit_BBIO.GPIO as GPIO

PIN = "P8_19"

GPIO.setup(PIN, GPIO.IN)

LOW  = 0
HIGH = 1

# Initial level state
Level = GPIO.input(PIN) and HIGH or LOW

MY_DEVICE_TOKEN = '### INSERT YOUR TOKEN HERE ###'
my_device = Tago(MY_DEVICE_TOKEN).device

send_close = {
    'variable': 'switch',
    'value'   : 'closed'
}

send_open = {
    'variable': 'switch',
    'value'   : 'open'
}

def send_data(data_to_insert):
    response = my_device.insert(data_to_insert)
    print data_to_insert
    print response

while True:
    if Level == LOW:
        if GPIO.input(PIN):
            send_data(send_close)
            Level = HIGH
    elif GPIO.input(PIN) == LOW:
        send_data(send_open)
        Level = LOW
Tips for your code
- Import the Tago library:
from tago import Tago. - Replace
MY_DEVICE_TOKENwith the token created for your device. - Prepare a JSON payload, e.g.,
data_to_insert = {'variable': 'switch', 'value': 'closed'}. - Send data:
result = my_device.insert(data_to_insert). - Check the API response to handle errors and confirm success.
Running the application
Open your dashboard on TagoIO, then run the script on the BBB:
python bbb_switch.py
The widget will display the variable’s value in real time. Press the switch button: you should see “closed” appear, followed by an email notification. Release the button to see “open”. Repeat as needed.
Feel free to extend this example for your own applications—add more variables, use different programming languages, or integrate additional sensors.