Getting Started
Welcome to TagoIO! Here are some options to get started.
Options to get started
- Follow the manual steps described below to start quickly.
- Use our SIMULATOR to start right away even if you don't have a physical IoT device.
- Go deeper by following the video below.
Next step
Step 1. Add a device
Start by adding a device to your account. This will provide a link between the data in your account and the external world.
In this example, let’s send a variable called temperature from your device to your account.
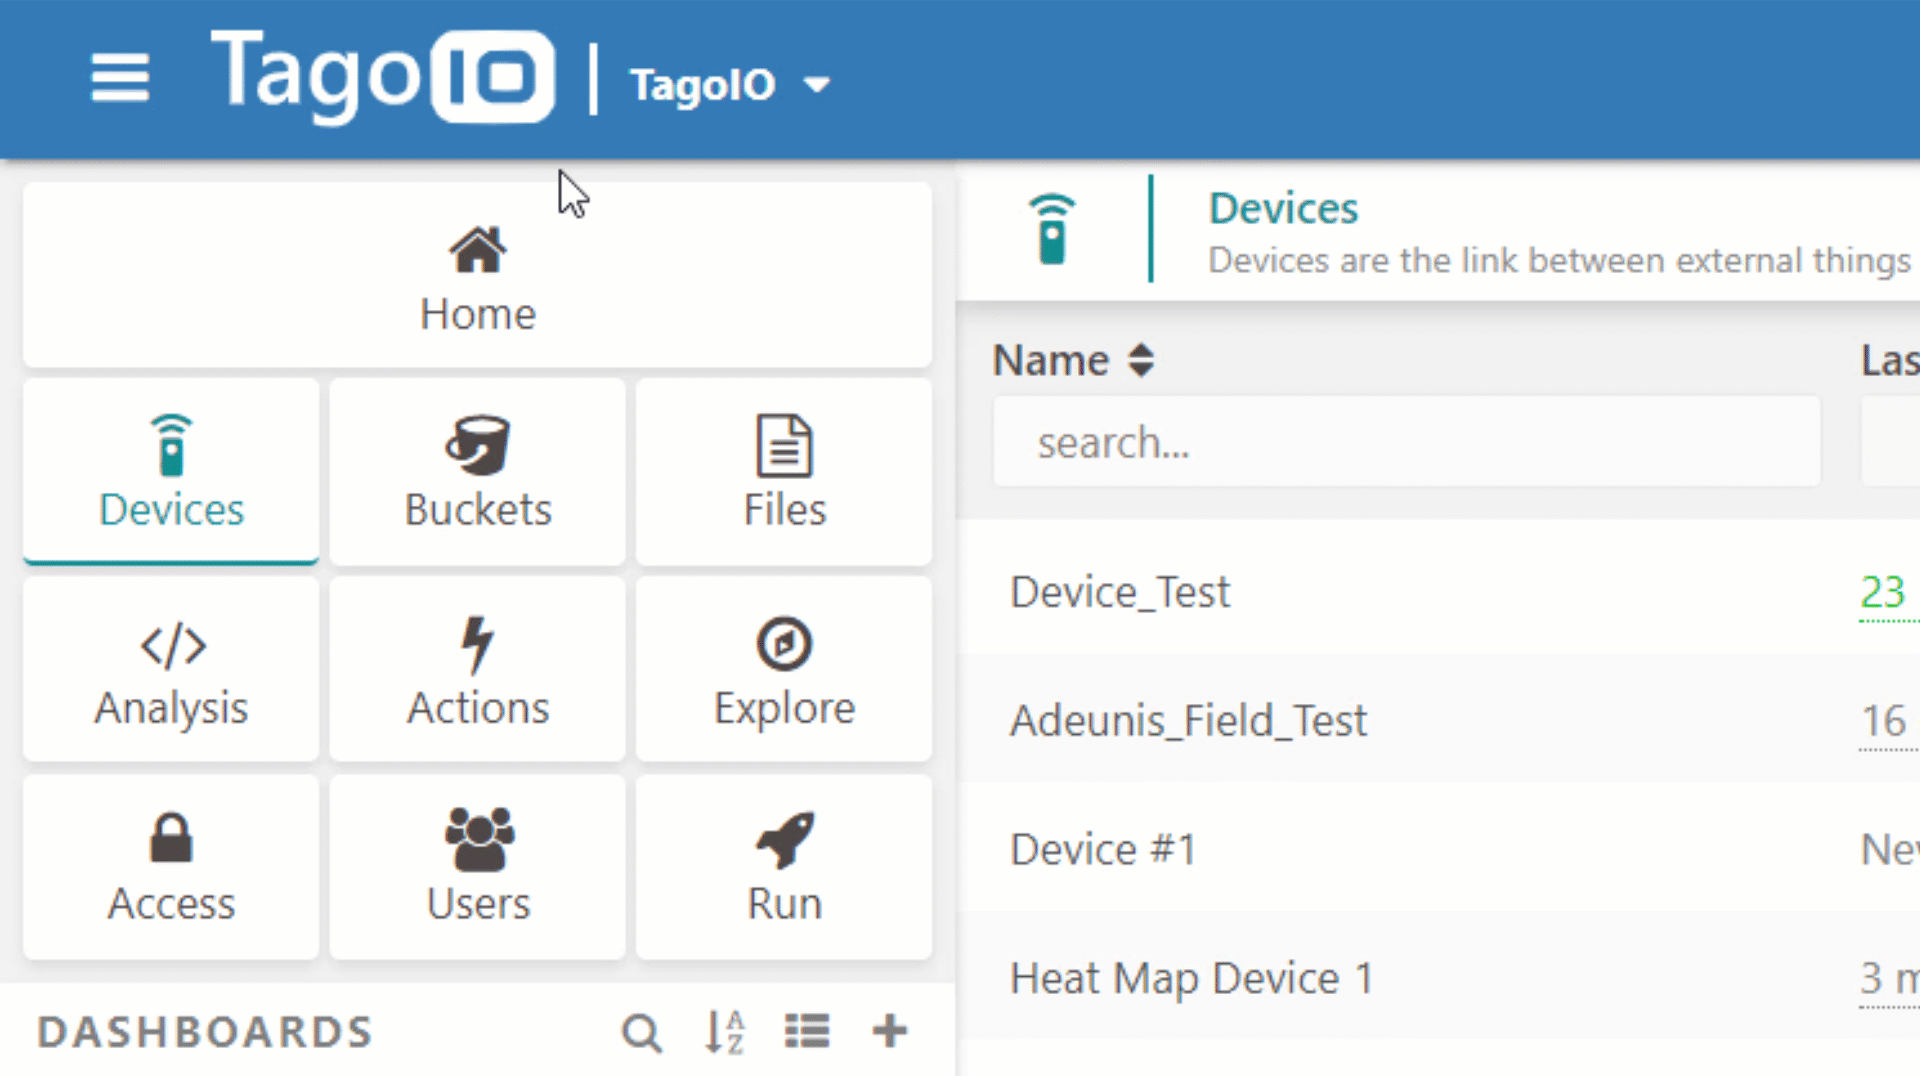
- Click the Device button on the left sidebar.
- Click the Add Device button.
- Look for the type HTTPS and select it.
- In the field "Device Name", add any name for your device.
- Click the Create Device button.
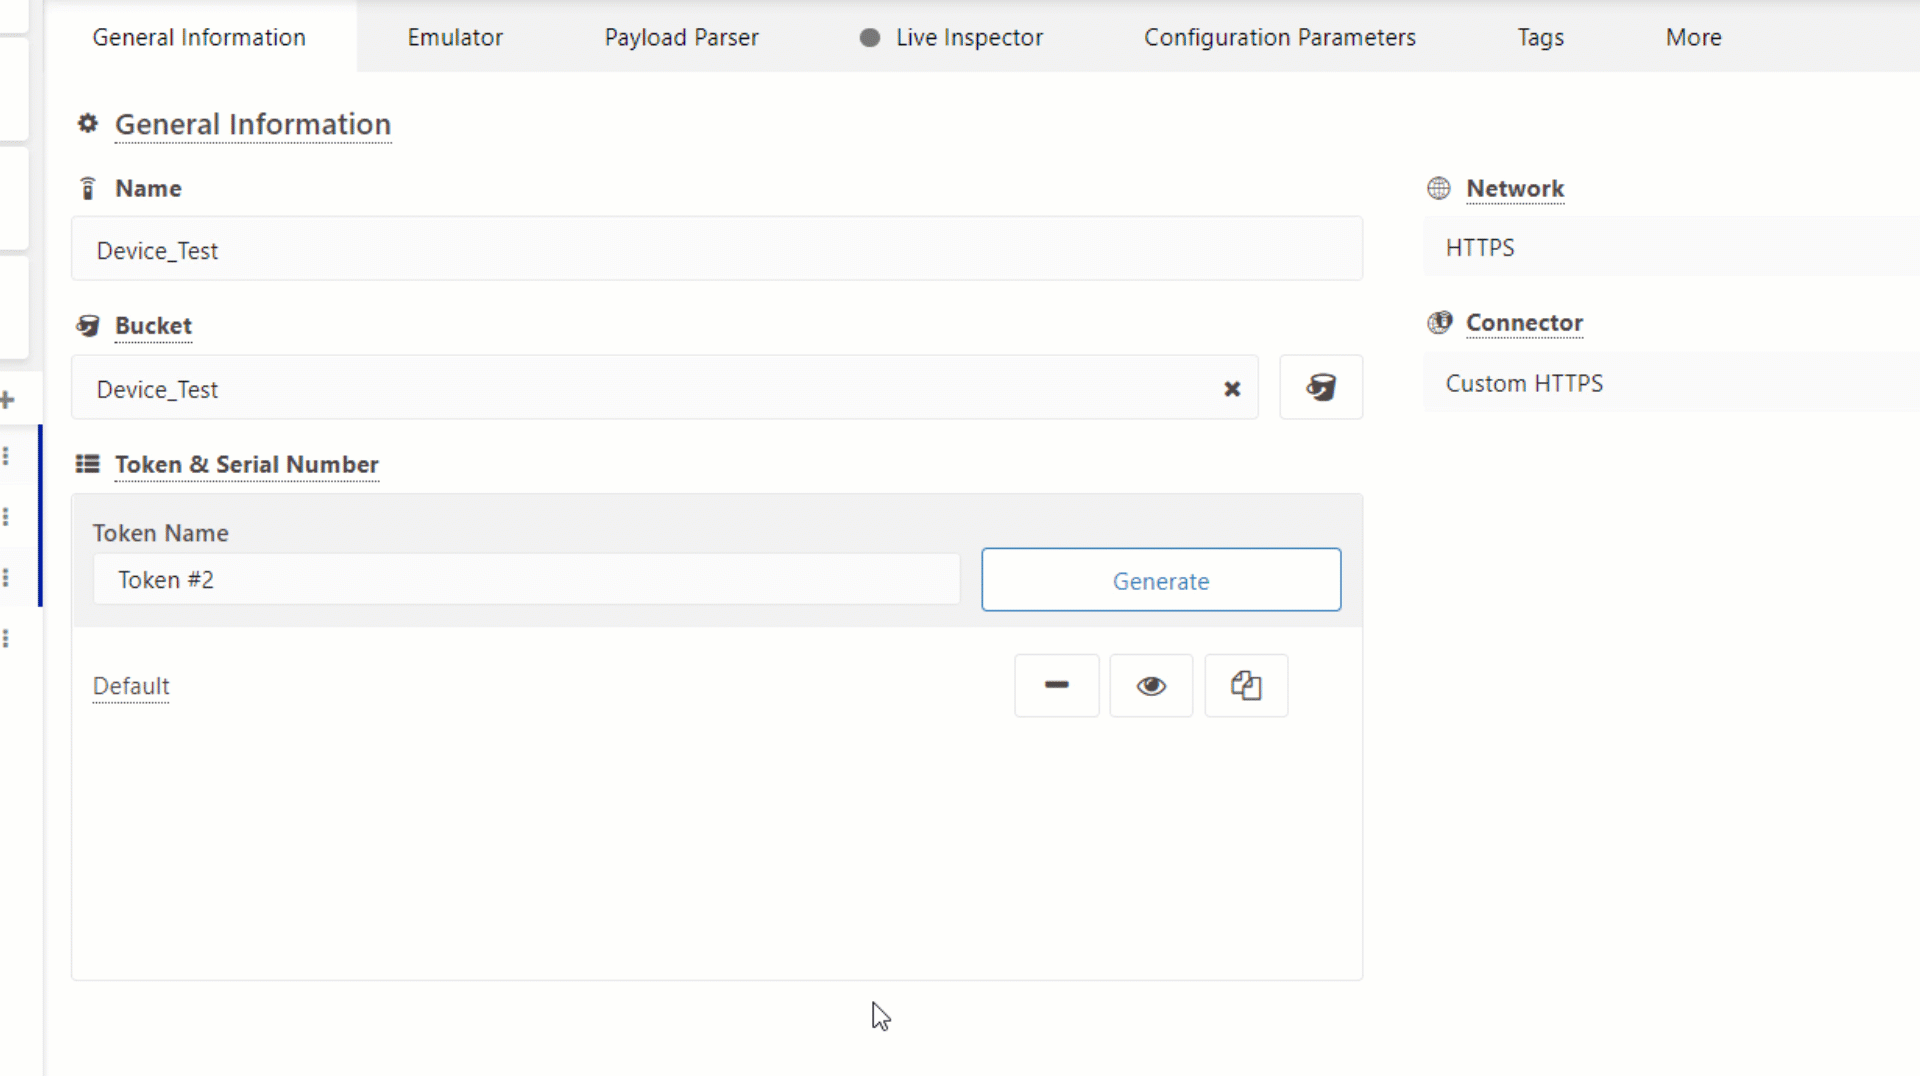
All devices should use a valid device-token when accessing TagoIO. One device‑token is generated when a device is created and it is available for you to copy if you want to insert it in a real device.
Step 2. Build a dashboard
You can build great dashboards to visualize data, interact with your devices and share with others. You can build it with the widgets that best fit your needs.
- Click Dashboards on the left side bar.
- Click +, then select the type of dashboard, give a name for your dashboard, and click Save.
- Add one widget to show the variable temperature. Click + (the top right button), and pick the widget Card.
- Start the configuration of this widget by adding the device and variable to be displayed. Click on the search area then type the variable name that will be sent by the device as temperature, and click Save – your widget will be ready!

Step 3. Send data
Now that you have completed the setup of your account, you are ready to send data from your electronic devices using our APIs. You can use one of our SDKs designed for your platform.
You can simulate your device using any tool that transfers data to and from a server with HTTP. Below, you will learn how to quickly send data depending on the OS that you are using.
Mac or Linux Command Line
Let’s use curl to post the data. Enter the following command replacing the YOUR_DEVICE_TOKEN by the token created earlier for your device.
curl -H "Content-Type: application/json" \
     -H "Device-Token: YOUR_DEVICE_TOKEN" \
     -X POST -d '{"variable":"temperature","value":100,"unit":"F"}' https://api.tago.io/data
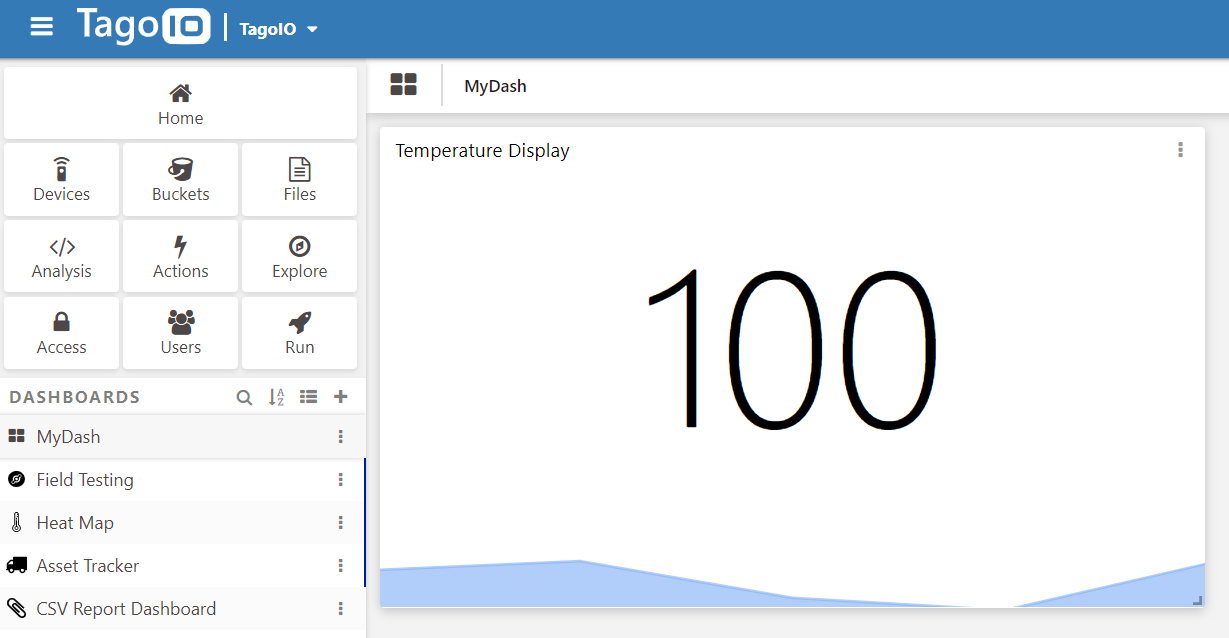
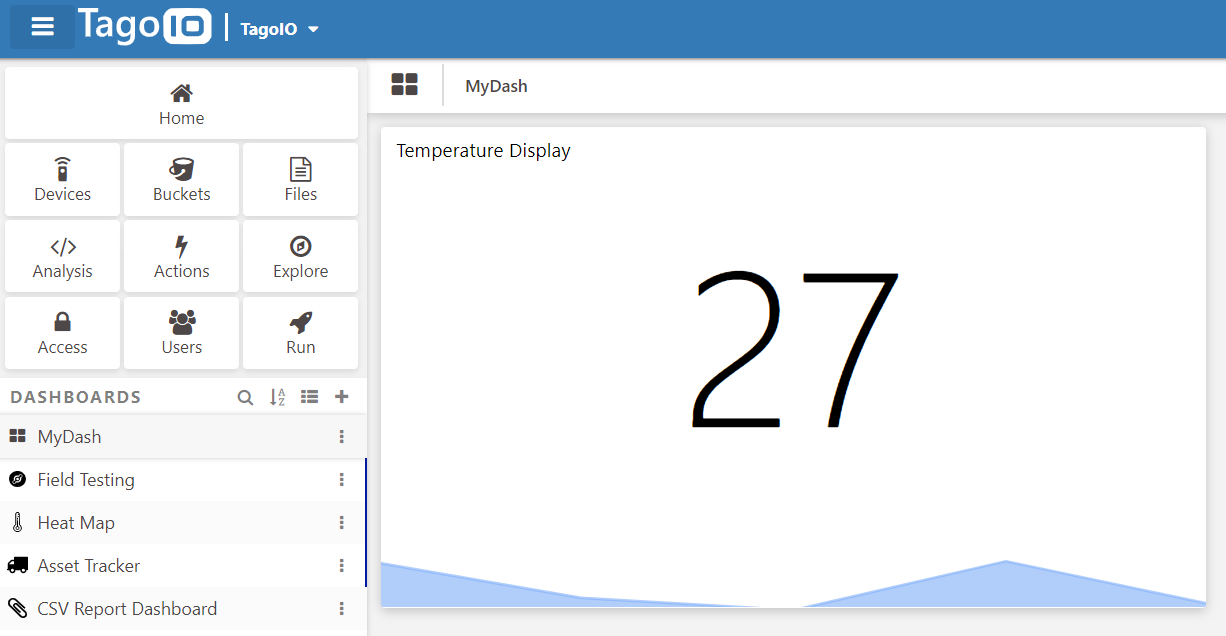
Try to send more data by changing the value of the ‘temperature’. Keep an eye on your dashboard. You should see something like this:
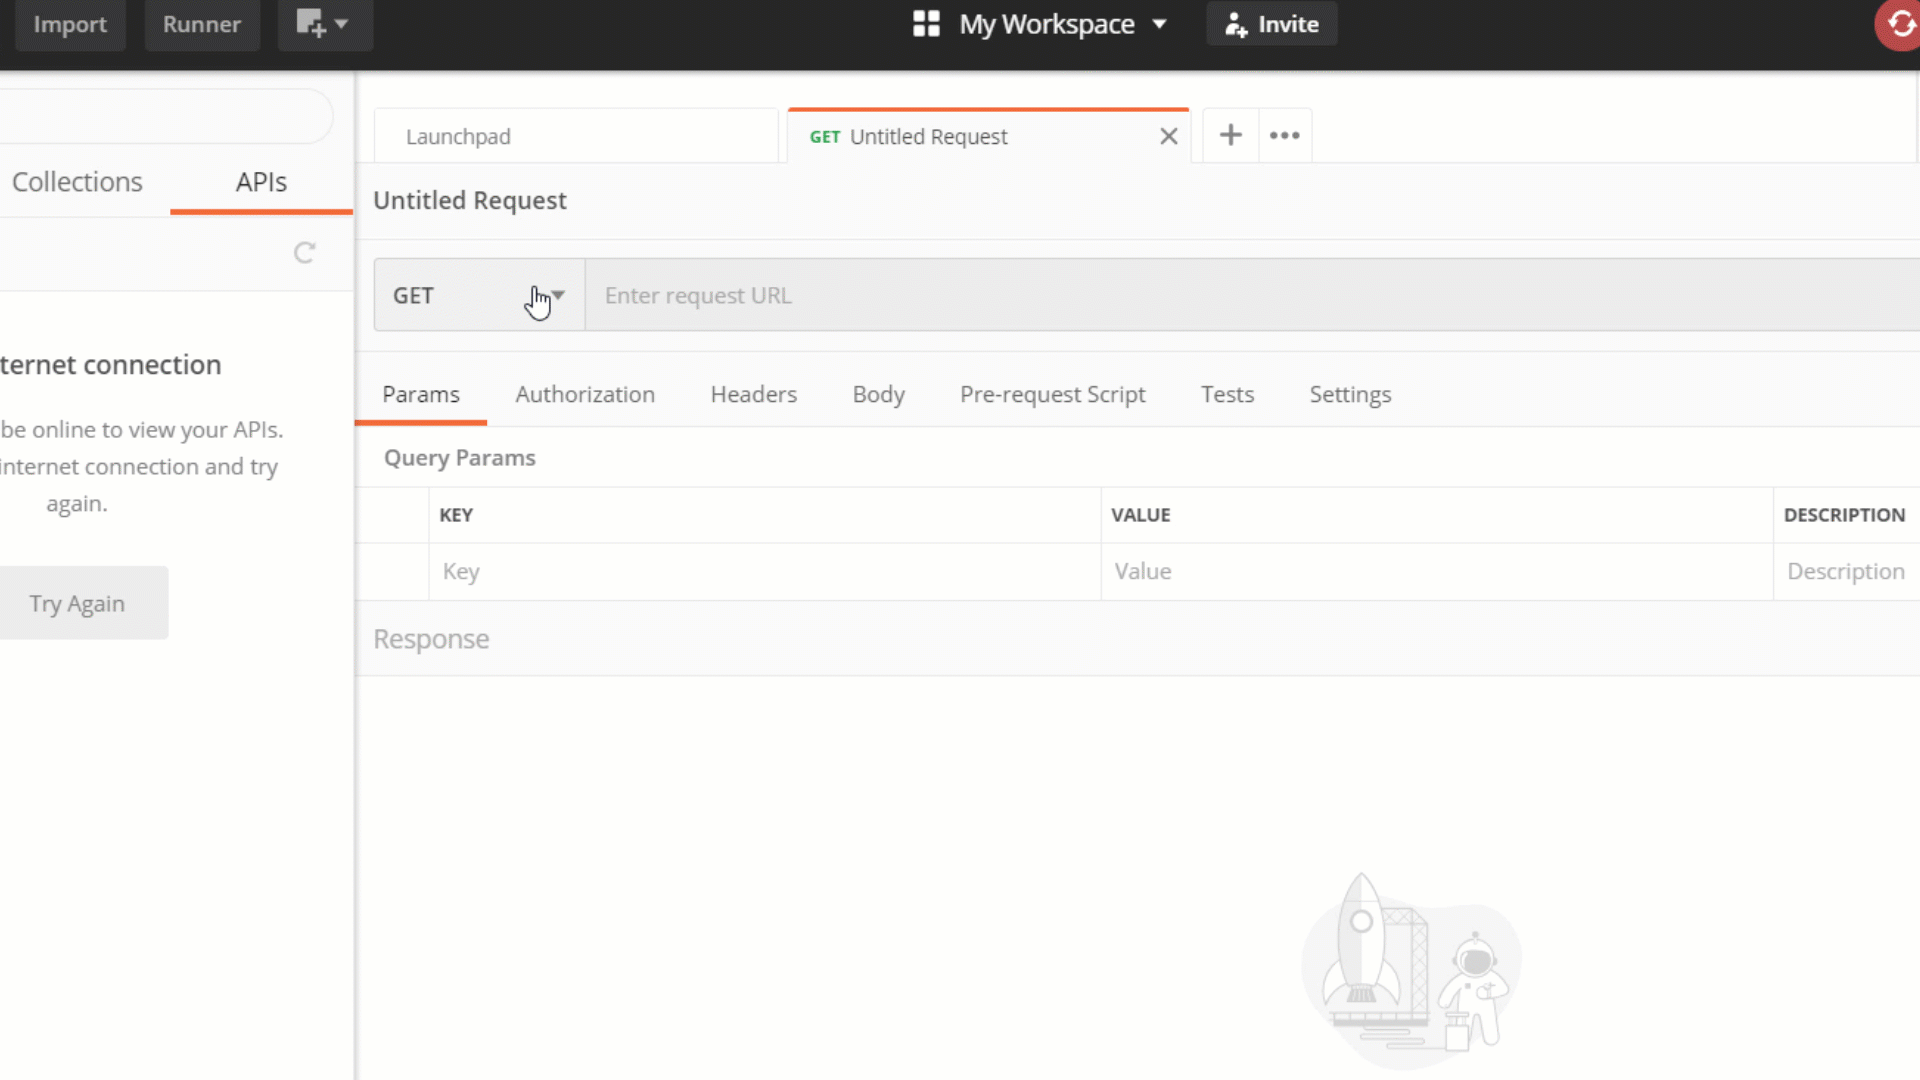
Windows
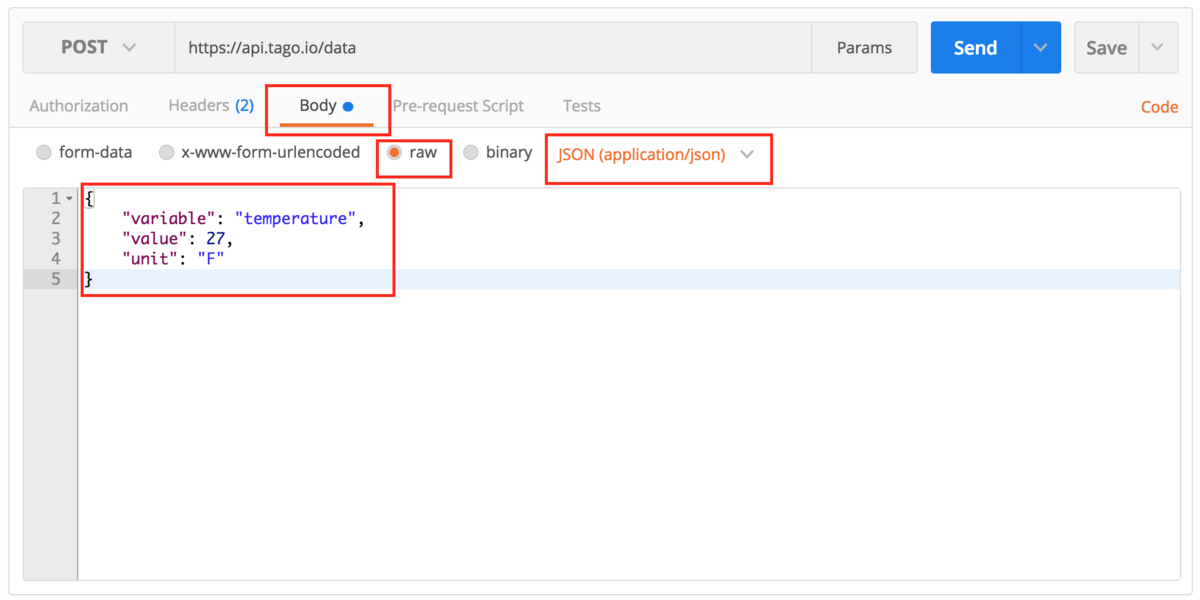
To send data, there are some tools that support HTTP communication like Postman or Insomnia. Considering the same input as used above, you can make a POST by entering the URL, Device-Token, and configuration in Postman like this:

Then, input the variable information in the JSON body. Make sure that you select the same configuration as shown in the picture below.
The response should look like this:

Step 4. Create complete solutions
This is just the beginning! Check out how powerful TagoIO is to deploy solutions in production.
Create powerful analysis in real‑time using our script capabilities in JavaScript. Program actions to be taken based on your rules.
Learn more about our powerful API’s. And check out the tutorials and SDKs prepared for different boards and applications.